
IP restrictions only apply to people signing in. Your AI agents are never affected, and Rallied support can always reach your account to help you recover if you get locked out.
Set up IP restrictions
You need to be an admin to change these settings.1
Go to Settings → IP restrictions
Your current IP address is shown at the top of the page.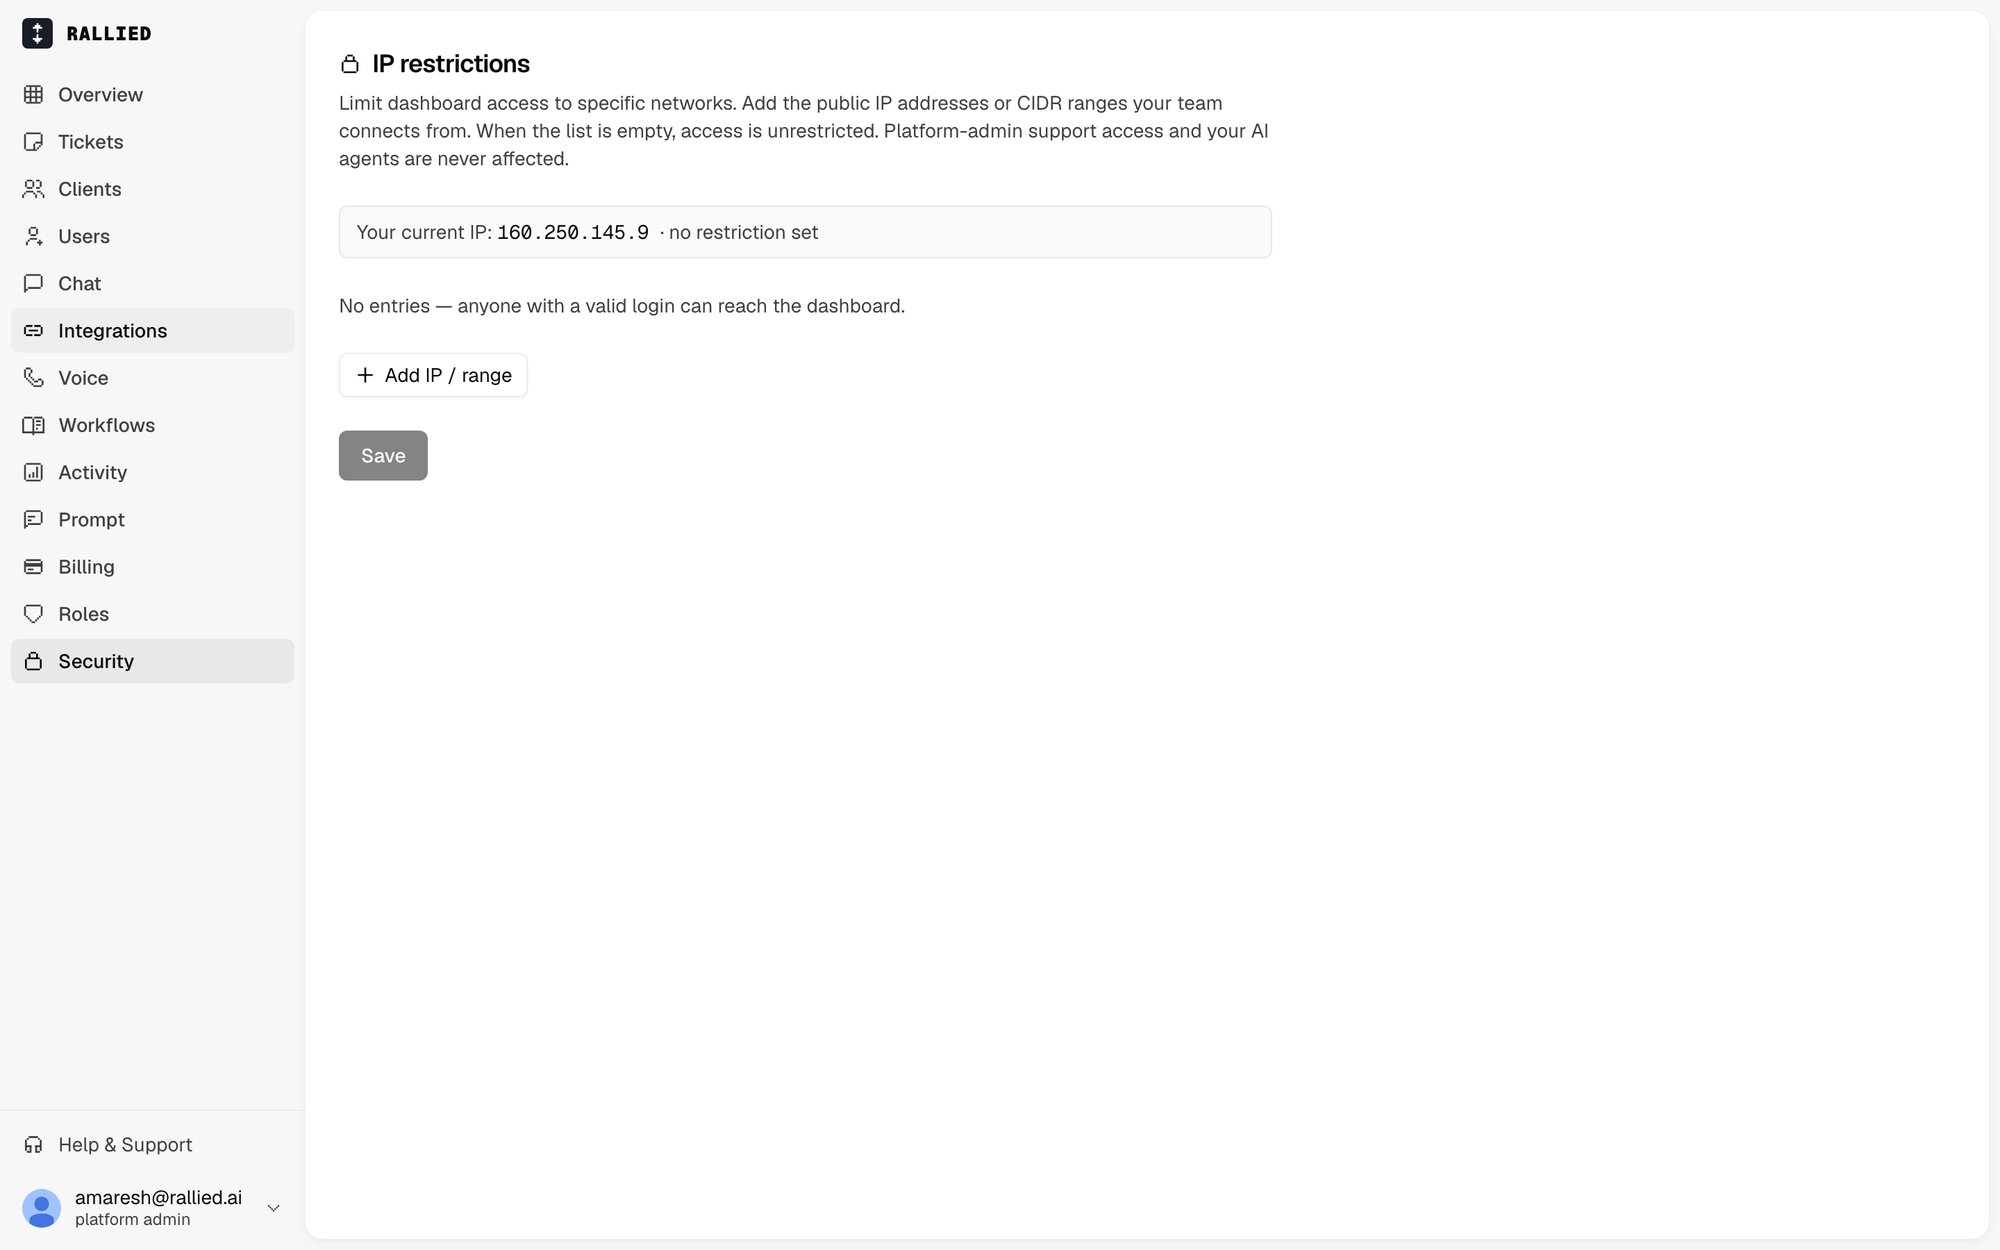
2
Add your current IP
Click Add my current IP. Do this first. If you saved a list that didn’t include the address you’re connecting from, you’d lock yourself out, so Rallied won’t let you save until your own IP is on the list.
3
Add your other approved networks
Click Add IP / range for each one. You can enter a single IP address or a range in CIDR notation: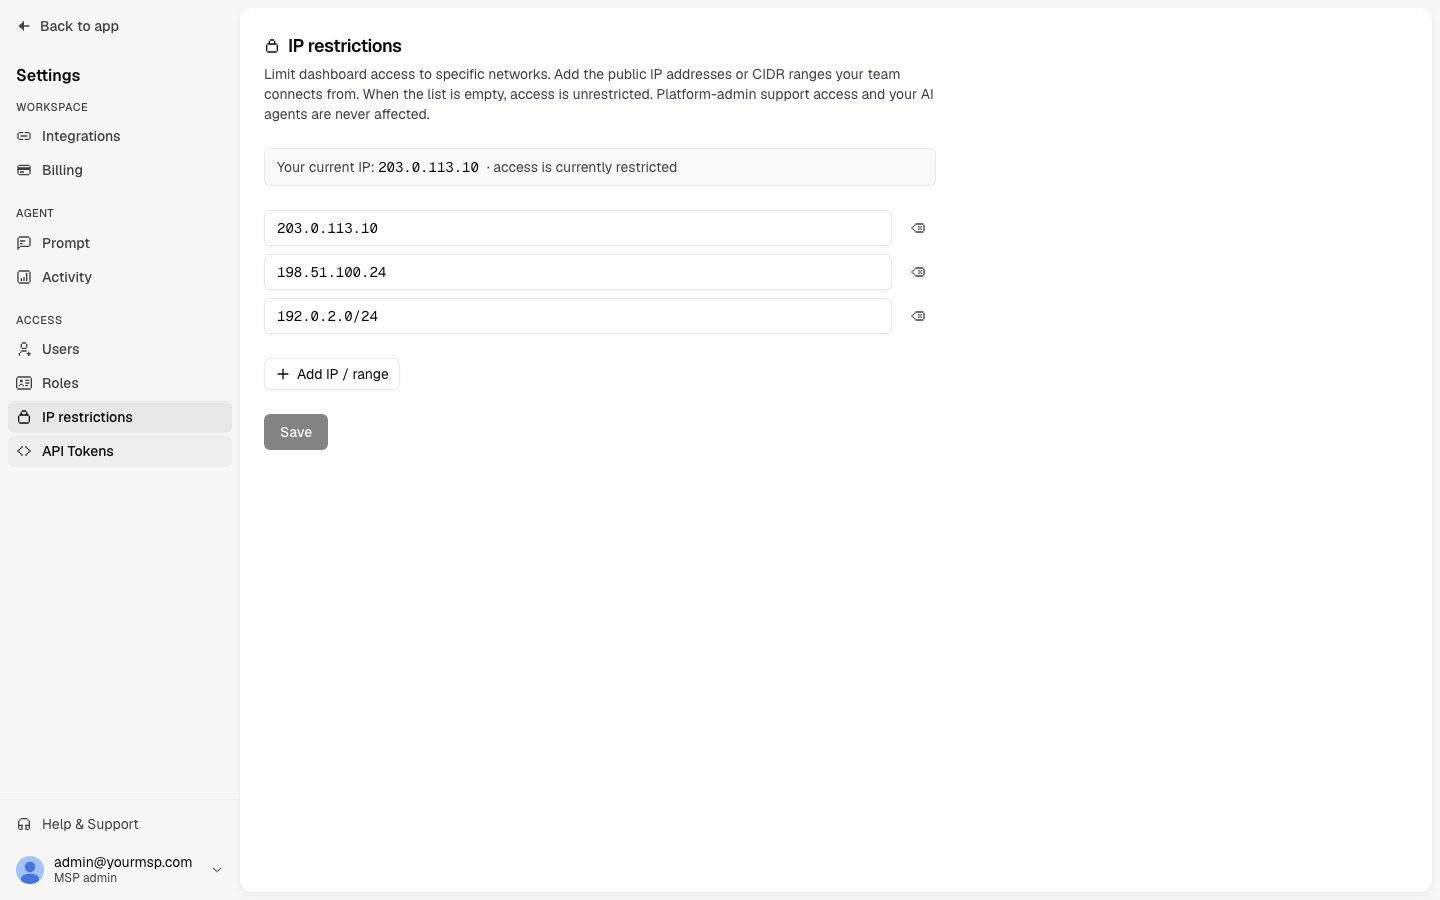
4
Click Save
The restriction takes effect immediately for everyone in your organization.
Remove the restriction
Delete every entry from the list and click Save. An empty list means anyone with a valid login can access Rallied from any network.What blocked users see
Someone connecting from an unapproved network sees an “Access blocked from this network” page showing their current IP address. Signing out and back in won’t help. To get back in, they can either:- Connect from an approved network (for example, by turning on the company VPN), then reload the page.
- Ask an admin to add their IP to the list in Settings → IP restrictions.